Contents
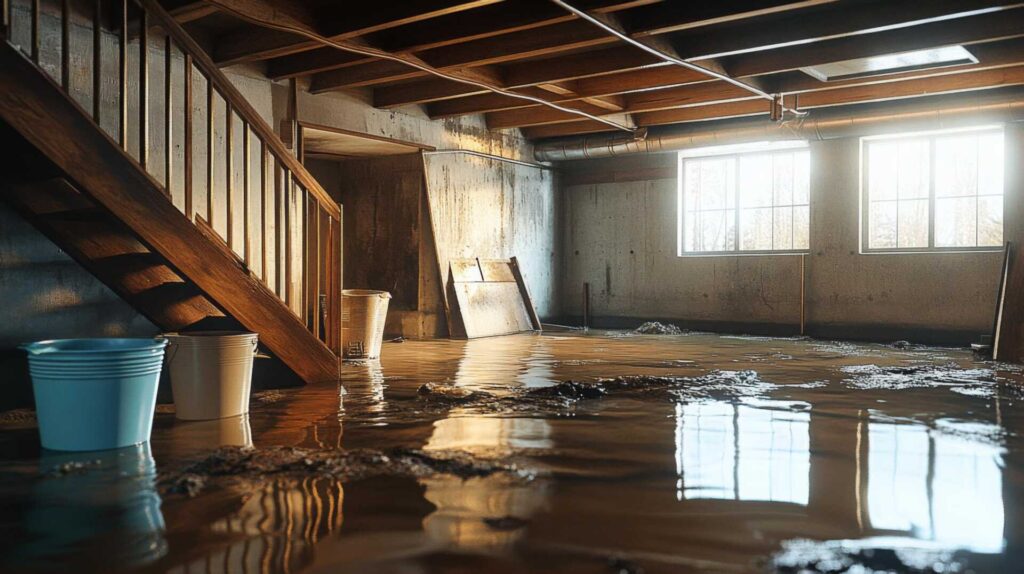
When faced with a flooded basement, it’s vital to tackle mold removal systematically. Start by evaluating the damage and pinpointing areas of mold growth. Prioritizing safety is essential, so make sure you have proper protective gear on. Once that’s squared away, you’ll need to focus on removing standing water and moisture effectively. Each step builds on the last, guiding you toward a mold-free environment. But what comes next in this process?
Key Takeaways
- Assess the extent of water damage, identifying affected areas and checking for mold growth and moisture signs.
- Ensure safety by using PPE, ventilating the area, and turning off electricity before starting the removal process.
- Remove standing water using pumps and wet/dry vacuums, and maintain low humidity levels with fans and dehumidifiers.
- Clean and disinfect all surfaces with appropriate solutions, allowing time for disinfectants to work before rinsing.
- Apply mold inhibitors on treated areas and implement preventive measures, such as sealing leaks and scheduling regular inspections.
Assess the Damage and Identify Mold Growth
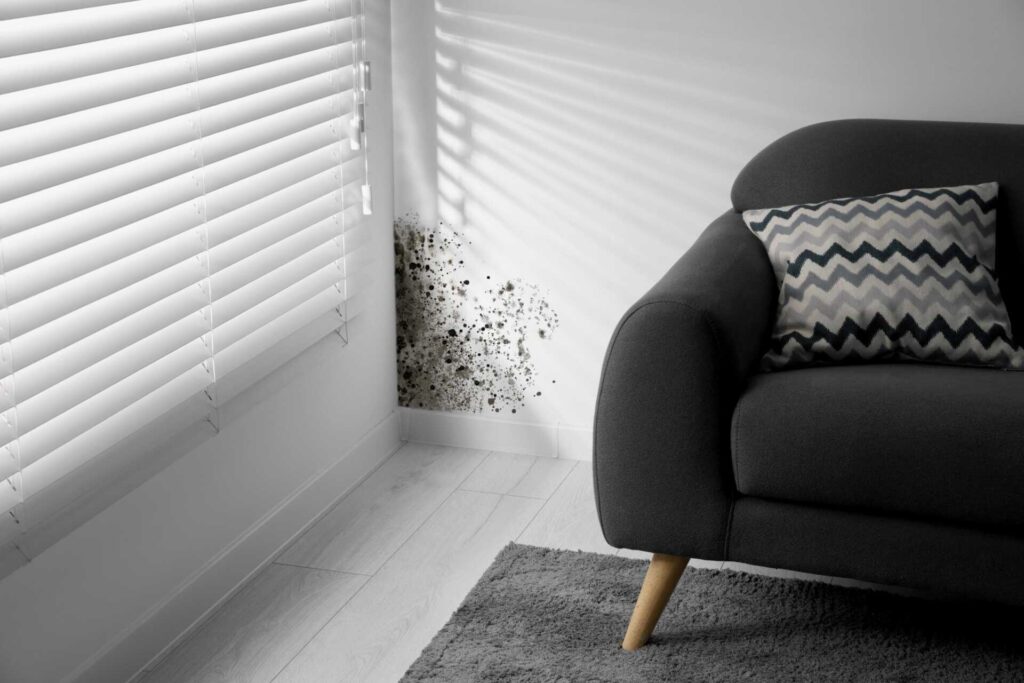
As you begin the process of emergency mold removal, it’s crucial to assess the damage and identify any mold growth in your flooded basement.
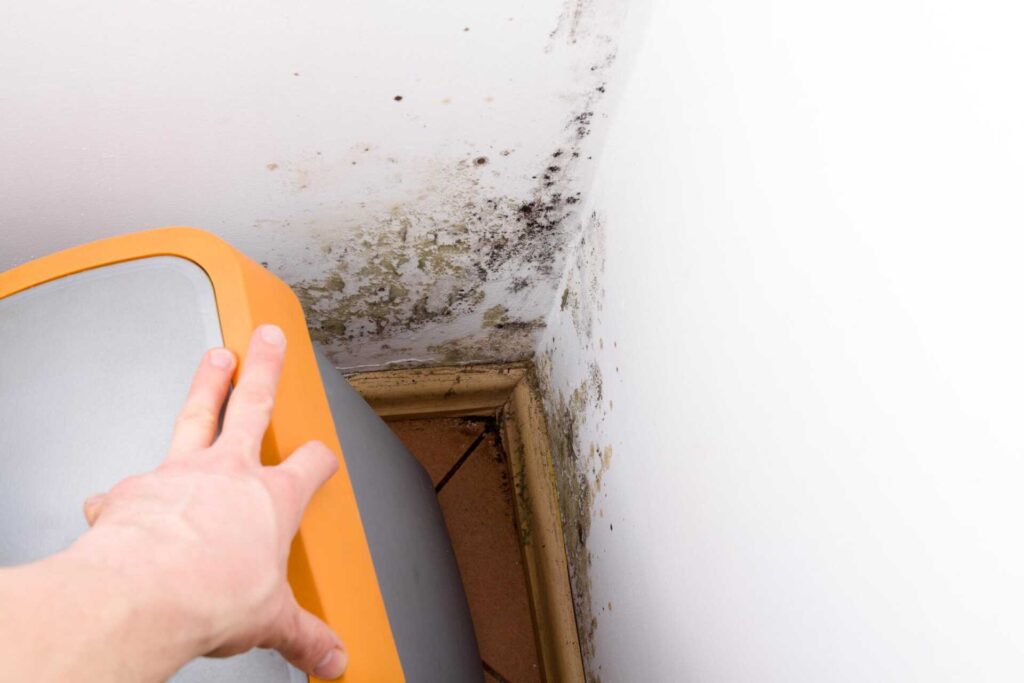
Start by inspecting all surfaces, including walls, floors, and furniture, for discoloration or signs of moisture. Pay attention to corners and hidden areas, as mold often thrives in neglected spots. Use a flashlight to illuminate dark corners, ensuring you don’t miss any growth.
Next, check for the musty odor that often accompanies mold. This smell can guide you to affected areas. If you see visible mold, note its color and texture; this can help in determining the type of mold present.
Document your findings with photos and notes. This will assist in planning your removal strategy and addressing the issue effectively.
Ensure Safety Protocols Are in Place
Before starting any mold removal efforts, you must ensure that appropriate safety protocols are in place to protect yourself and others in the environment.
First, equip yourself with personal protective equipment (PPE), including N95 masks, gloves, and goggles to shield against mold spores and irritants. Assure adequate ventilation in the area by opening windows or using fans, without blowing spores into uncontaminated spaces.
Next, turn off electricity to the affected area to prevent electrical hazards. Avoid using wet vacuums or other electrical equipment until you’re certain the area is safe.
If the mold covers a large area or poses health risks, consider enlisting professional help. Inform others nearby about the mold situation to prevent unnecessary exposure.
Remove Standing Water and Excess Moisture
To effectively remove standing water, you should start by using a pump to extract as much water as possible from the basement.
Once the majority is cleared, focus on drying the area thoroughly with fans and dehumidifiers to eliminate excess moisture.
This step is essential in preventing mold growth and ensuring a safer environment.
Use a Pump
Begin by using a pump to swiftly remove standing water and excess moisture from your flooded basement.
Choose a submersible pump suited for the volume of water you’re dealing with. Submerge the pump in the deepest area, ensuring it’s fully submerged to avoid air intake.
Connect a discharge hose to direct the water outside, away from your foundation. Turn on the pump and monitor its operation, checking for clogs or malfunctions.
If the water level is particularly high, you may need to repeat the process with multiple pumps.
Once the bulk of the water is gone, you can move to more detailed drying techniques, ensuring your basement is free from moisture that encourages mold growth.
Dry the Area
Once you’ve removed the bulk of the water with a pump, immediately focus on drying the area to prevent mold growth.
Begin by using wet/dry vacuums to eliminate any remaining standing water. Next, open windows and doors to enhance ventilation.
Utilize fans and dehumidifiers to lower humidity levels effectively; aim for a moisture content below 60%. Make certain you’re circulating air, especially in corners and enclosed spaces.
If possible, remove carpets and padding for thorough drying. Monitor the moisture levels regularly with a hygrometer to ensure progress.
After drying, inspect for hidden moisture in walls or ceilings. Address any damp areas promptly to safeguard your home and maintain a healthy environment.
Dry Out the Affected Area Thoroughly
As you tackle the aftermath of a flooded basement, it’s crucial to dry out the affected area thoroughly to prevent mold growth.
Start by removing any standing water using a sump pump or wet/dry vacuum. Once the bulk of the water is gone, open windows and doors to increase ventilation.
Use fans and dehumidifiers to enhance air circulation and reduce humidity levels. Aim to maintain indoor humidity below 60%.
Inspect and address any damp materials, such as carpets or drywall; they may need to be removed if they absorb too much moisture.
Utilize moisture meters to monitor levels on various surfaces.
Continue this drying process for at least 48 hours, consistently checking for any remaining wet spots.
Remember, thorough drying is key; even small amounts of moisture can lead to mold growth.
Taking these steps will help ensure your basement remains safe and mold-free.
Clean and Disinfect Surfaces
Once you’ve thoroughly dried the area, it’s time to gather your cleaning supplies, including gloves, masks, and suitable disinfectants.
Apply the disinfectant solutions to all affected surfaces, ensuring even coverage to kill mold spores effectively.
After allowing the disinfectant to sit for the recommended time, rinse and dry the surfaces to prevent any moisture buildup that could encourage mold regrowth.
Gather Cleaning Supplies
When tackling mold removal in a flooded basement, gathering the right cleaning supplies is vital for effective and safe remediation.
Start by securing personal protective equipment (PPE) such as gloves, goggles, and masks to shield yourself from mold spores.
Next, obtain a stiff-bristled brush and sponges for scrubbing surfaces. You’ll also need buckets for mixing cleaning solutions.
In addition, gather a concentrated detergent designed for mold removal, as well as a spray bottle for easy application.
Microfiber cloths are useful for wiping surfaces after cleaning.
Finally, don’t forget trash bags for disposing of contaminated materials.
Having these supplies on hand ensures you’re prepared to tackle mold efficiently and protect your health and home.
Apply Disinfectant Solutions
Begin by thoroughly mixing your chosen disinfectant solution according to the manufacturer’s instructions.
Once prepared, don appropriate personal protective equipment, including gloves and a mask, to safeguard yourself during the process.
Using a clean cloth or sponge, apply the disinfectant generously to all affected surfaces, focusing on areas with visible mold and mildew.
Allow the solution to sit for the recommended contact time to effectively kill spores and bacteria.
Pay close attention to corners, crevices, and porous materials, as these areas may harbor hidden mold.
After the designated time has passed, verify you’ve covered all necessary surfaces.
This step is vital in preventing mold from returning and promoting a healthier environment for you and your loved ones.
Rinse and Dry Surfaces
Rinse the surfaces thoroughly with clean water to remove any remaining disinfectant solution and loosened mold particles.
Use a clean sponge or cloth to wipe down all areas, ensuring you cover every inch of the affected surfaces. Pay special attention to corners and crevices where mold may linger.
After rinsing, it’s essential to dry the surfaces quickly to prevent mold from returning. Use fans or dehumidifiers to increase air circulation and facilitate drying. Aim for a moisture level below 60% in your basement.
Monitor the area for any signs of dampness or mold regrowth. By following these steps, you’ll create a safe and healthy environment, promoting a sense of belonging in your home.
Remove Contaminated Materials
To effectively mitigate mold growth in flooded basements, promptly remove all contaminated materials. This includes wet drywall, insulation, carpeting, and any porous items that can’t be thoroughly cleaned. Focus on items that harbor moisture, as they promote mold proliferation. Use protective gear like gloves and masks while handling these materials to ensure your safety.
| Material Type | Removal Method | Disposal Guidelines |
|---|---|---|
| Drywall | Cut away affected areas | Seal in plastic bags |
| Insulation | Remove and discard | Check local regulations |
| Carpeting | Pull up and dispose | Consider professional help |
After removing items, verify that you clean and disinfect the affected surfaces thoroughly. This step is vital in preventing any remaining spores from developing into a larger mold issue. Take action quickly, and you’ll create a safer environment in your basement.
Apply Mold Inhibitors and Preventive Measures
After you’ve removed contaminated materials, it’s crucial to apply mold inhibitors and implement preventive measures to safeguard your basement against future infestations.
Start by selecting a high-quality mold inhibitor specifically designed for porous surfaces. Apply it uniformly on walls, floors, and any other exposed areas, following the manufacturer’s instructions for maximum effectiveness.
Next, verify proper ventilation in your basement. Use dehumidifiers to maintain humidity levels below 60%. Regularly check for leaks in pipes and the foundation, sealing any cracks promptly.
Installing a sump pump can help manage excess water during heavy rains. Consider using waterproof paints or sealants, which create a barrier against moisture.
Additionally, keep your basement clutter-free, as items can trap moisture. Finally, schedule routine inspections to catch any signs of mold early.
Recap
In the grand scheme of home maintenance, who knew a little flood could lead to a mold removal masterclass? By following these seven steps, you’re not just battling mold; you’re transforming your flooded basement into a mold-free sanctuary. Remember, while it may seem like a hassle now, the irony is that this emergency could save you from far worse headaches down the line. So gear up, get to work, and embrace your inner mold-fighting hero!